Showing posts with label DIY. Show all posts

Friday, 11 January 2013

Post-New Year


New Year's Eve was a while ago now, and everyone is already moving on to their New Year's Resolutions - But I must share these photos with you. 


For decorations we had lanterns and my handmade bunting strung to the umbrella.

These drink holders are super neat - they're like giant bull clips - that give you extra space on the table. 


This is a really easy DIY - just super glue shot glasses to the bottom of plastic cups and you're good to go. Choose lots of different coloured cups and no one will get mixed up with which is theirs!

Mandatory cupcake tower. 

Midas the bird holding down the fort.


Music was supplied by the talented Morgan.

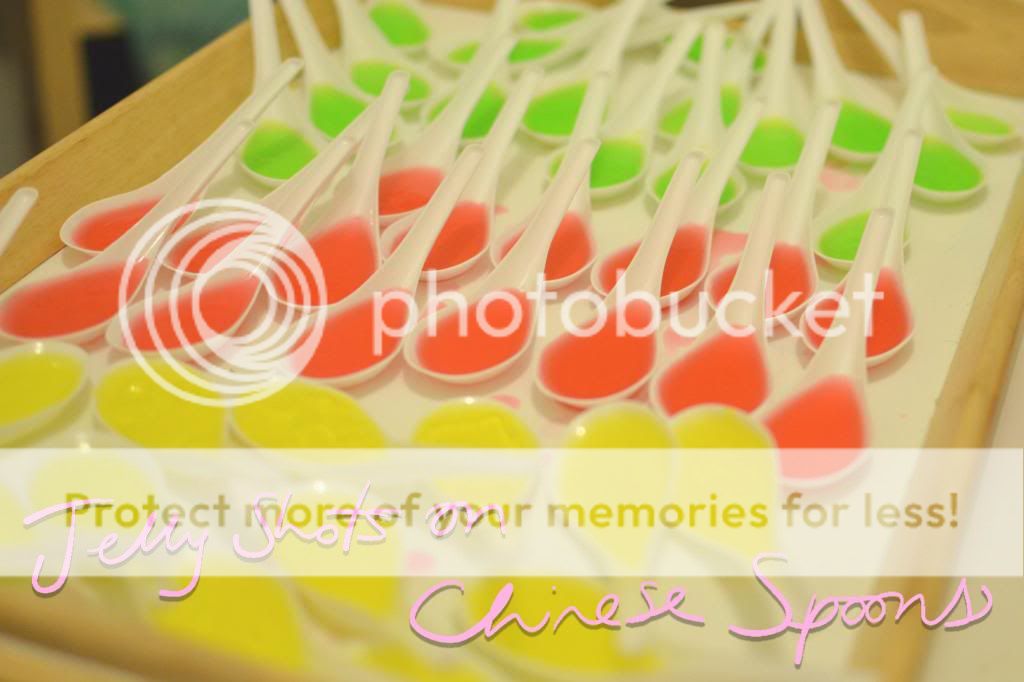
The easiest way I thought of to serve jelly shots. No more messing around with tiny plastic shot glasses. Spoon - and - go. 


Here's to the best coming year!

Much love,
Laura

Wednesday, 21 November 2012

Found Necklaces.

I have two up coming stalls for Laura Does Vintage in Perth, and to add to my vintage collection I have these necklaces:


Made from found vintage wooden beads, I hope you like them!

Much love, 
Laura 


Friday, 9 November 2012

Days of DIY

This guy:


In following the theme of some bloggers I decided to snaz-up Mr. Midas (you'll see why he gets that name in a few pictures) to fit in with the decor of my room. 


This included him getting a make-out. 

I mean, make-over.

Heres what I did:


Supplies: Pink and Gold spray paint. Masking tape to make sure the right bits were covered up.


A bit of pink to start.

Some gold tape (put on in bits so that he has a fairly straight line around his neck).

Gold spray paint.

 And a necktie.

And now he shall follow me where ever I go, secretly I want to be a pirate.
Plus pink is my favourite colour. 

Much love and inspiration, 
Laura

Tuesday, 23 October 2012

Days of Quick DIY

Just one quick DIY for your Tuesday which is ever so cute, owing to the adorable printables from Tiny Me and (a small amount of) my colouring skills.

What you'll need:

Printout's from Tiny Me, coloured in, scissors, double sided tape or glue and pegs.
(I printed the pictures at half size because I wanted them to be a bit smaller)

Apply the double sided tape and remove the second layer of film to reveal the sticky side.

Line up the picture with the peg.

Attached!

You could also add a magnet to the other side to make it a handy fridge ornament.

Perfect jar decoration.

Mucho mucho helpful receipt holder.

These are adorable and the perfect decoration for my desk.
Enjoy!

Much love, 
Laura

Wednesday, 10 October 2012

Days of Paper.


If there is one thing I can't go past it's a pretty pieces of paper. 
A patterned roll of washi tape.
A ribbon.
Lets make that string of any colour. 

And so, over the years a collection of cute postcards, pictures, patterns, ribbons, sticky tape - you name is- has built up in my vintage tins. 

And now Kelly from Kelly Zarb Style has the perfect way to share this collection, and get a little in return. She collaborated a group of willing bloggers (myself included) and organised an "International Paper Love Swap". 
It is indeed as glorious as it sounds. 

Here is a little sneak peak of what I put together. 
(I don't want to show it all cause then where would the surprise be for my lucky international friend be?)


All wrapped up with a wonderful place to go.

Much love, Laura


You Might Also Like This:

Related Posts Plugin for WordPress, Blogger...